Today’s Ultimate Blogging Challenge prompt is to teach something. What I am going to teach you how to do is to draw a fanciful bear in color. In the past, I have had wonderful instruction in drawing animals from Western New York artist Nikki Milley. I have been practicing many of the techniques that she taught me when drawing Bearnacle Bear and his friends. Today, I’d like to share a few of them with you.
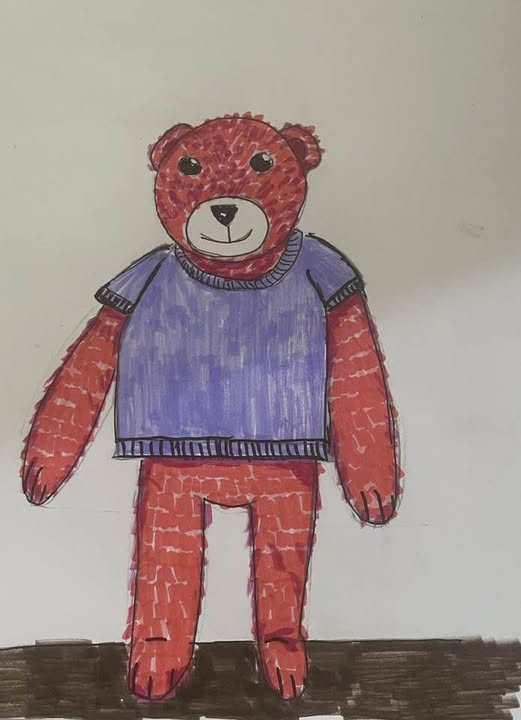
This is the bear that you are going to draw. The bear is cute and fun and, when you’ve finished your rendition, you should think about giving your bear a name.
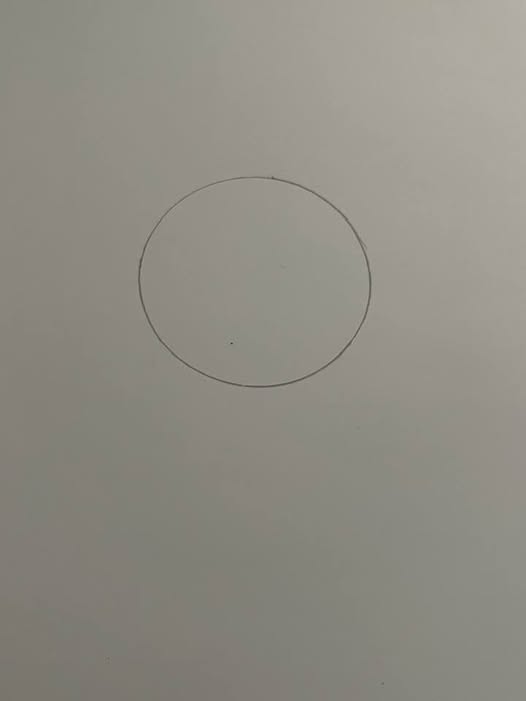
Your first step will be to draw a circle to represent the bear’s head. You should draw that circle fairly high on the page so you have room for the rest of the bear. If you like, you could choose a small round object to trace. I used a sticker that I was given. It still has its backing. There are also templates that you could use. I have used those, too. The reason that I’m suggesting a template or something to trace is because it can be challenging to draw a perfect circle. I might do a how to demonstration in future step by step directions. But, for now, tracing is the thing to do.
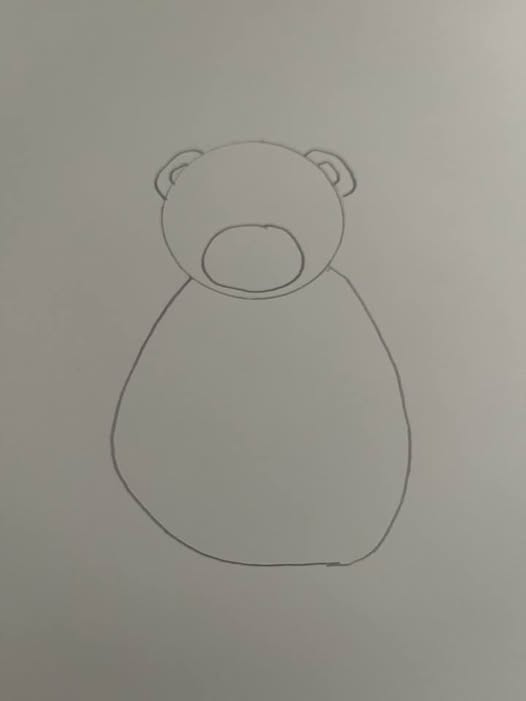
Your second step will be to add your first shape, which will be the body and a few details in the face. The body is a bit pear shaped, and the shapes on the face are basically just circles. These circles don’t need to be perfect, so I’m drawing them freehand..
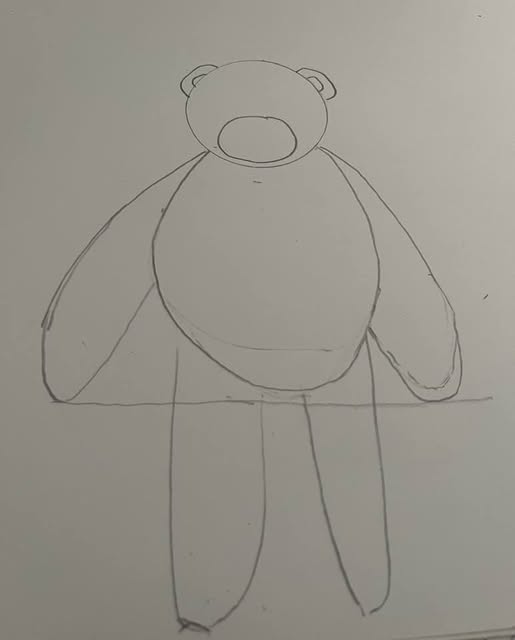
Your third step will be to add arm and leg shapes so you get the complete bear form. At this point, we’re just focusing on shapes. But, to save on potential frustration with making sure that the length of the arms is the same, I’ve drawn a line from one side to the other to illustrate how long both arms should be. You can choose whether you want long arms or short arms, but you do want both arms to be the same length. Notice that the bear looks very round and puffy. That’s okay at this stage. I remember Nikki talking about an ugly stage with drawing and that it’s okay to have that ugly stage. It doesn’t mean that you can’t draw. It just means that it’s a stage all artwork goes through before being the creation that you want it to be. I am also seeing that the legs aren’t quite the same length, but I think that might be easier to fix than arms.
Your fourth step is to add some details, which include the bear’s shirt and face. You are starting to give your bear personality. You can start thinking about who you would like your bear to be. You might find that, when you are creating, you have an audience.
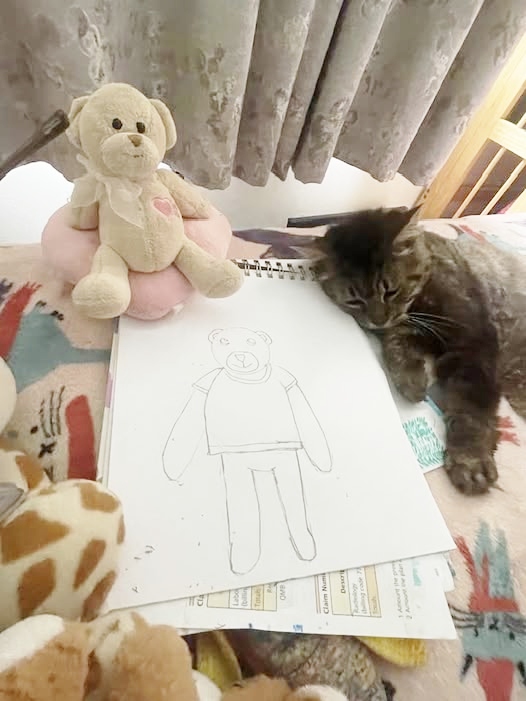
Step five involves refining details and adding ink. You’re also going to draw in a line close to the bear’s feet. This keeps the bear grounded, so you can tell that the bear is standing on the ground and is fixed in space. Oh, and I corrected the leg length when I added ink.
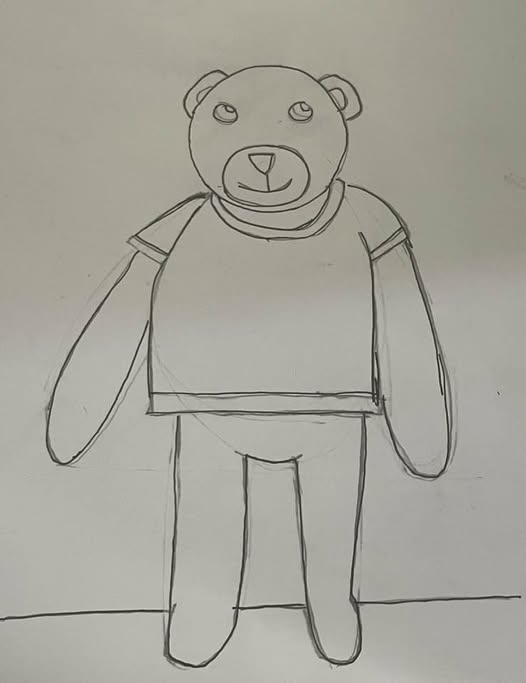
Step six is the fun part. You get to choose what color you want your bear to be. Because it’s a fanciful bear, you can choose any color you like.
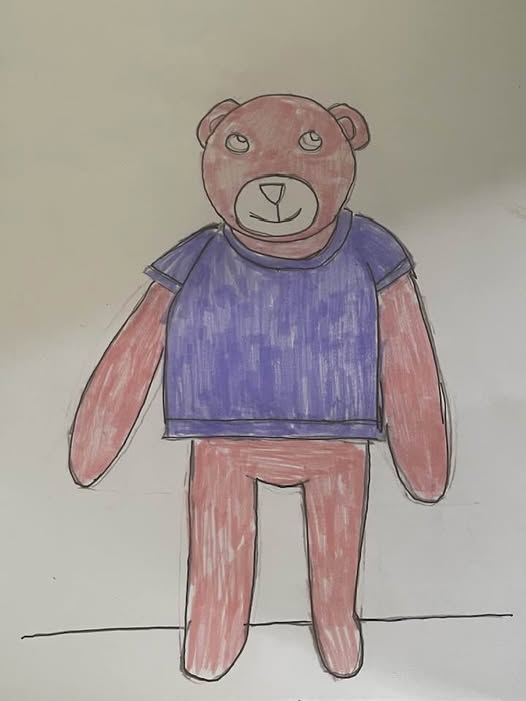
Your seventh step involves adding details to your bear. You’re going to color in the eyes and the nose. You want to draw in a circular motion, which you can see in that small dot area next to the bear. Make sure to leave white in the eyes and the nose. Those are the sparks of life.
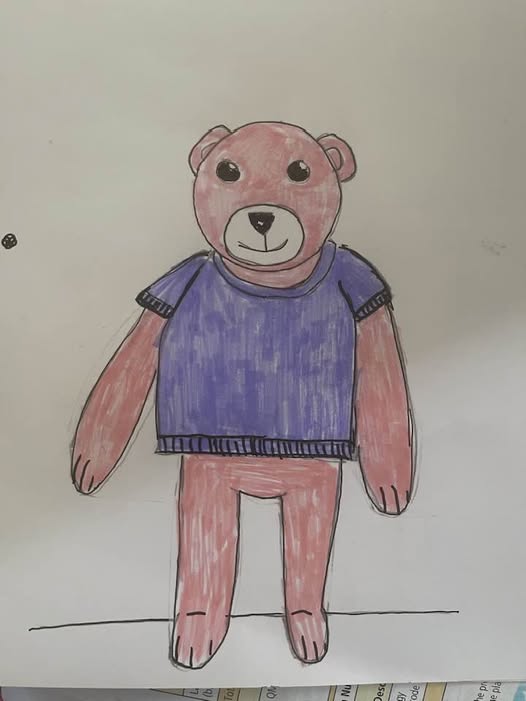
Step eight is all about adding the details of the bear’s fur. You will want to start in the center of the bear’s face so you can depict how the fur lies on the face. This is a demonstration of how that is done. This part can take some time to do. Some people find that to be challenging. Personally, I find the repetitive nature of drawing fur to be very relaxing and even meditative.
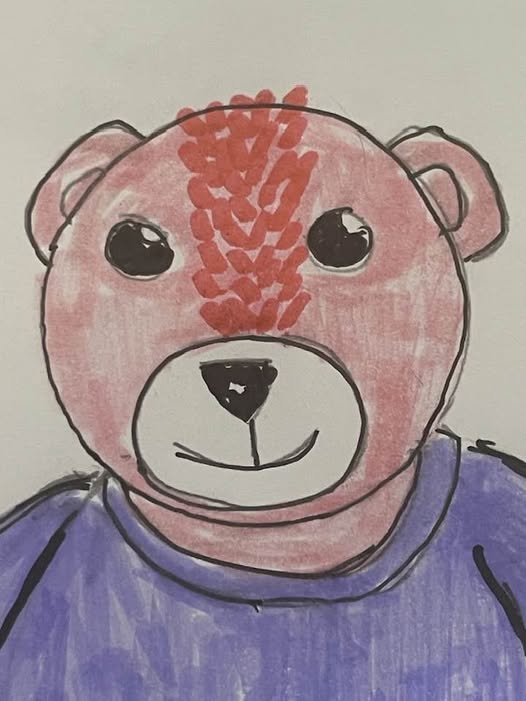
This is what the bear looks like when you finished adding the fur.
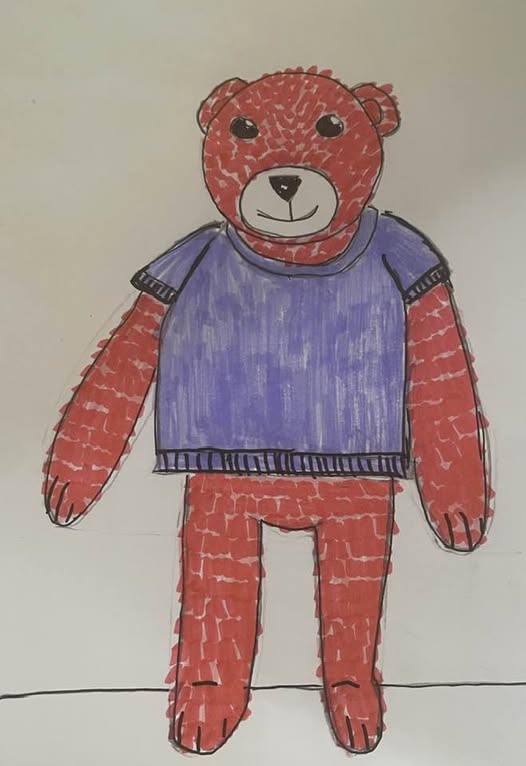
This is step nine in your bear project. You could use a darker shade to add shading to your bear to make it look a little more three dimensional. Because drawing on paper is a two dimensional artform, we use shading and other techniques to give the picture the illusion of being three dimensional. I also added some more details to the bear’s shirt. I drew in the color of the ground so the bear has something firm to stand on. I left my construction lines in so you could see where I started but you could definitely erase your construction lines at any point in the project.
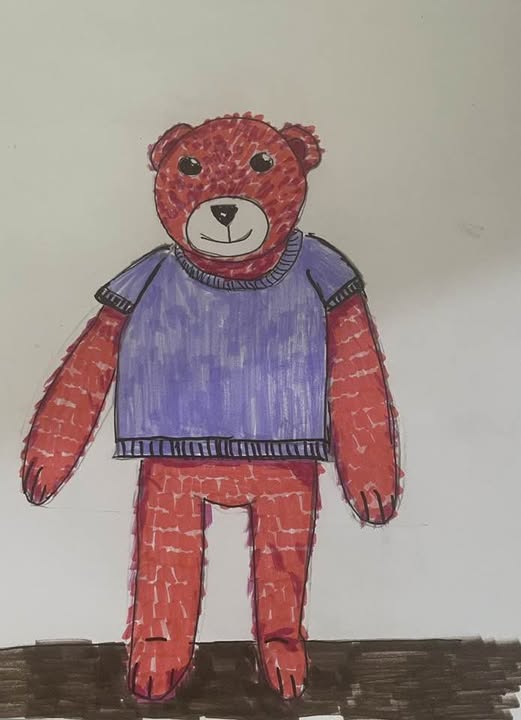
Have fun drawing your bear! It really is all about the fun of the experience. And give the bear a name, if you like.
If you’d like to see Nikki Milley’s wonderful animal art, check out her website at https://nikkim.art/?srsltid=AfmBOoqfHuK4ofNtTLEEN_J3S0NoqENrZ2xlmmZhqKeGlJn_DyJDgxRo


I love this! I used to doodle bears when I was in college. This reminder me of those bear doodles.
Bear doodles are so much fun!!!
Thank you, I decided to follow along! I now have a beary cute bear!
Oooh, I am so happy for you and your beary cute bear!