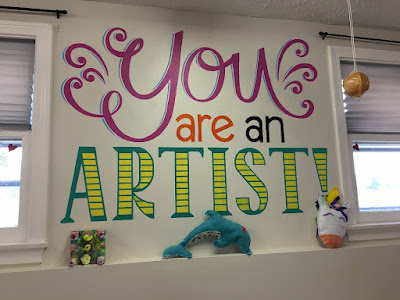
On Friday evening, I went to the Orange Poppy Art Studio for a fun workshop. The project that we were going to make was a wall hanging. The Orange Poppy Art Studio, which is owned and run by Bonnie Nevans and Crystal Still, is dedicated to the idea that there is an artist inside of everyone. The concept of process art is that it is the creation of art that is important, not the product. It’s sort of like when you’re on a long trip and you realize that it’s the journey itself that changes you for the better, rather than just the arrival at your destination. Destinations and finished art are great but they really are just frosting on the cake.
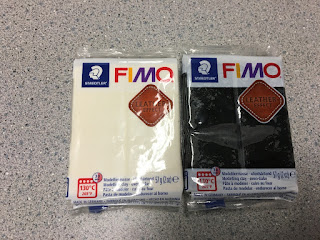
Sooooo…. the wall hanging. It was truly a process that started with polymer clay. The cool thing about polymer clay is that it doesn’t have to be fired in a kiln. You can bake it at relatively low temperatures in an oven, and it’s finished. We had two methods shown to us for molding polymer clay.
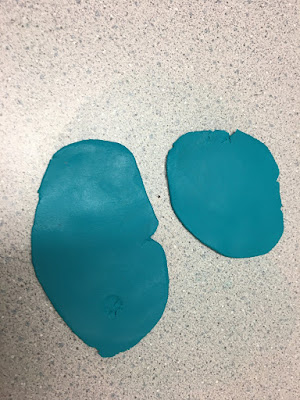
The first was to roll the clay into coils and the second was to roll it with a rolling pin until you got it to about one-eighth of an inch in thickness. It’s easy to get into the zone when rolling out the clay. With my first effort, I rolled it so thin that it could have been a crepe. That was easy to fix.
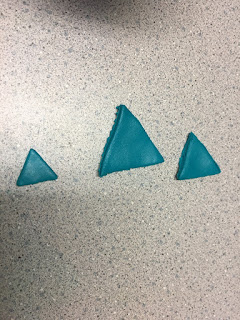
After rolling your clay, you can use cookie cutters to make shapes.
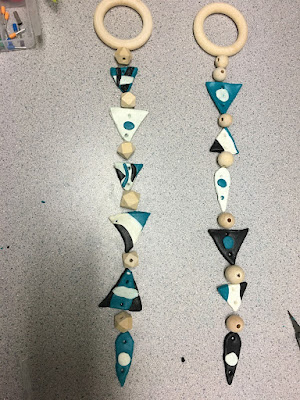
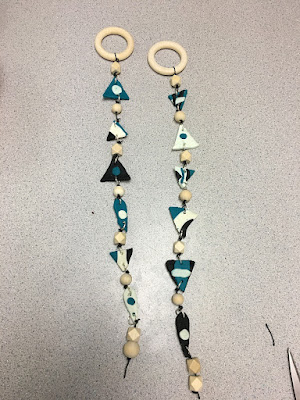
Once you’ve finished making your pieces, you make holes on the top and the bottom so that your pieces can be strung together to make a wall hanging. You’re also going to need a bunch of beads. Before your pieces are baked, you’re going to watch to photograph your entire design so that you can remember what it looks like and can put it together after it comes out of the oven.
After your clay polymer pieces come out of the oven and cool off a bit, you can arrange them and piece them together.
I pieced mine together with cord and jump rings and with a large ring at the top. I had so much fun designing my wall hangings! And I went home with extra polymer clay. In the next few days, I’m going to make a few pieces of jewelry with that clay, to match the wall hangings!
What are some of the creative projects that you’ve enjoyed lately?
Alice, how absolutely fun! Thank you for reminding me about FIMO, which is really visceral fun! One thing now: those gorgeous things you made will be awfully long for earrings. :/) I feel refreshed just reading about your great experience with this workshop. Seriously, those are beautiful!
Hi Alice,
When I first saw the artwork on the wall I thought it was the wall hanging that you were going to tell us about. I was impressed that I could not see the edges of the hanging.
Then I saw the “earrings” that you posted a picture of, and though they were a little too long to be practical then though that maybe the rings at the top were too big and that maybe this was in fact the wall hanging that you created.
My latest creation was a PowerPoint that used a green screen and a special white text with black shadow that could be used over a video to show lyrics, or reading text, over a video of a live streamed church service.
Fabulous idea! Love a new look at an old craft resource.